Close-up on proof-of-concept stage of inspection setup
In a recently completed project, we looked into how to determine the best times for changing milling tools by using sensors and cameras in combination. AI algorithms were developed on the basis of sensor data and high-quality photos of the cutting edges, giving very accurate results. The next step was to build a test setup for performing tool inspections in a laboratory environment.
In 2021, the ICON-AI project ATWI (joint research between industry and research partners) was started with the support of Flanders Innovation & Entrepreneurship (VLAIO). The research partners in this project were Sirris and EAVISE (University of Leuven). We discussed this in a previous article.
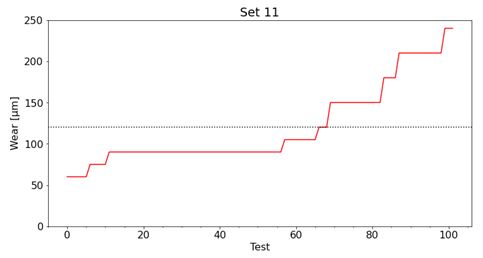
In the meantime, important steps have been taken in the research into predicting and automatically determining the wear of milling tools. With the help of an industrial camera and image processing algorithms based on the photographs taken of the cutting edges, an algorithm was developed to determine the amount of wear. Both the use of regression (determining the amount of wear) and classification (determining when it exceeds a set limit value) were investigated. This limit value was set at the tipping point that occurs during the typical course of wear, after which the wear quickly increases to an unacceptable and critical degree. The tool must then be changed to avoid, for example, breakage and machine downtime.
During the research project, the camera was built into a simple Haas milling machine at Sirris. Using MQTT communication, the controlling PC knew when the cutter was in front of the camera. At that point, a photo was automatically taken for analysis.
Offline inspection device
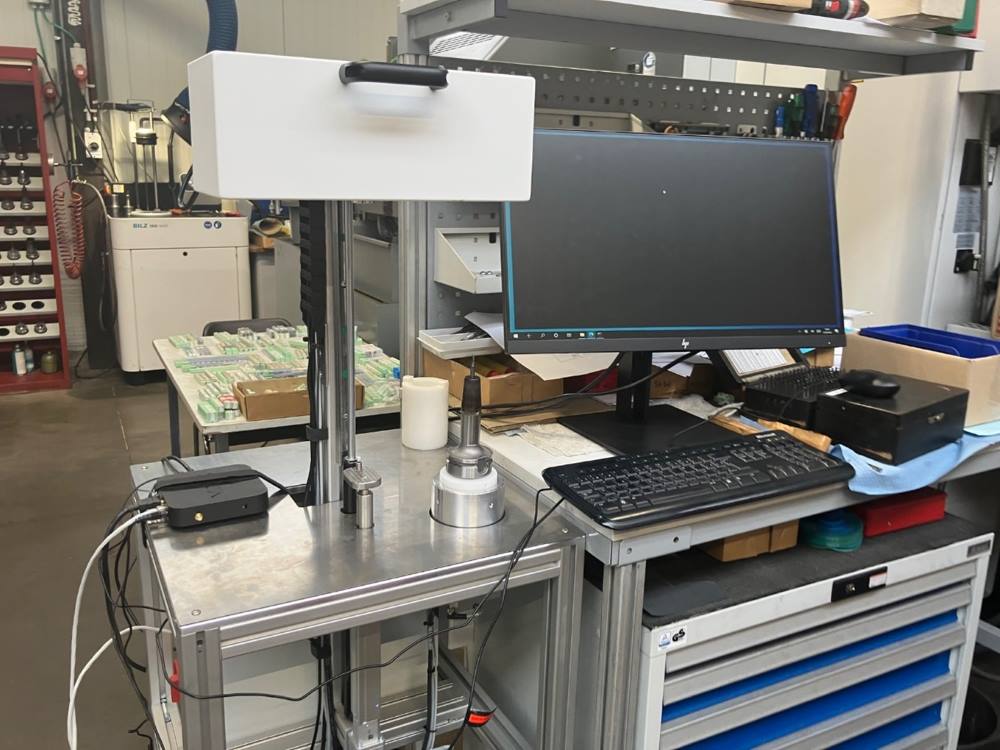
Since the benefit of installing such equipment in an industrial context is not always obvious, and because further development is needed, an offline inspection device was developed by the project partners, with Tisea as the driving force. This device is similar to, for example, a presetting device and can be installed in a production environment next to one or more machines.
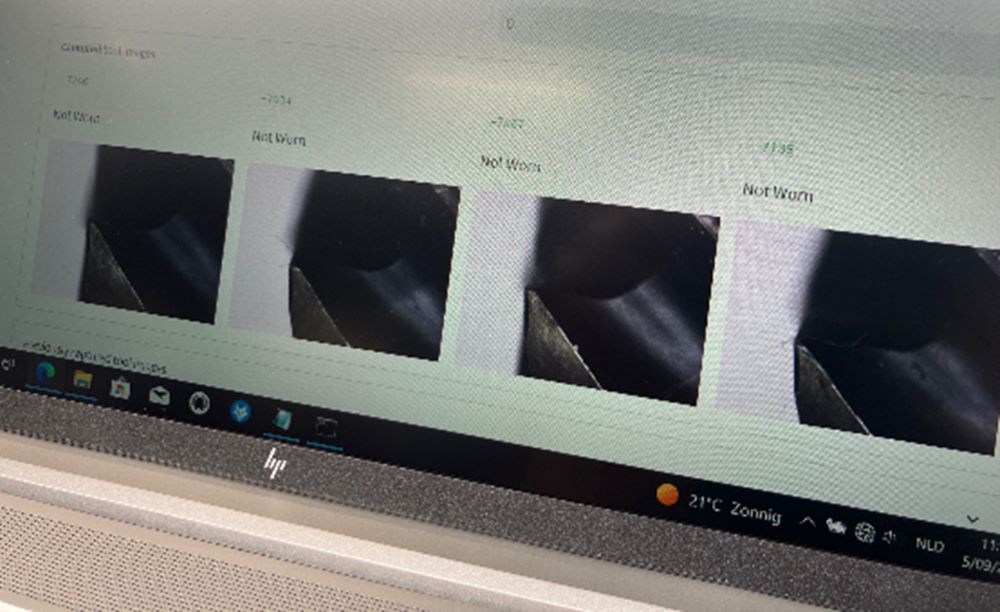
The operator can place the tool, in its holder, directly in the machine, adjust some settings by software (length, diameter, number of cutting teeth) and then carry out an inspection with a simple movement. This entire process takes just a few seconds. The tool only needs its position and orientation to be configured once. Each cutting tooth is then photographed and its wear individually estimated by the installed AI algorithm. This obviously remains an indication, on the basis of which the model should be further trained so that it can assess a wider range of tools.
In this way, the operator can use the photos and the assessment to make a clearer decision as to whether the tool needs to be replaced.
From laboratory to practical application
This apparatus was developed as a proof-of-concept in the project and was extensively tested at various industrial companies. The intention is for this to be further optimised and improved. The extension of the algorithms to other forms and tools will also be examined further.
Would you like to know more about this topic? Then please feel free to contact us!


